https://westgold.com/
Article content
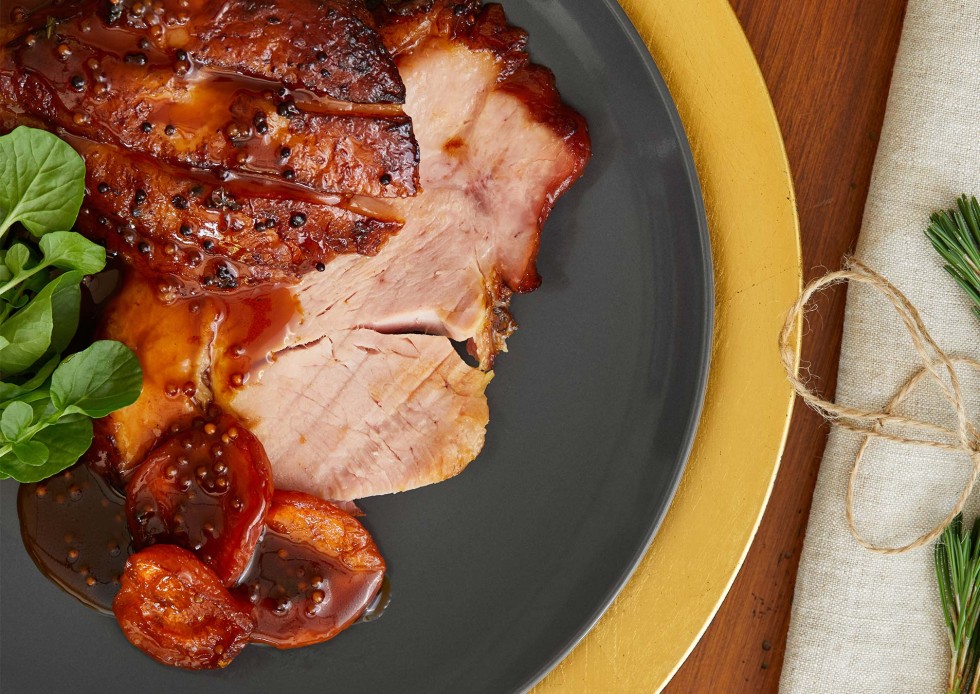
"A Christmas ham is truly the gift that keeps on giving. From quiche to salads, and pies to pasta, leftover Christmas ham is versatile and goes a long way."
So you followed the steps to our Golden Glazed Christmas Ham recipe here. You've pulled it out the oven, and the tantalising smells are making your family and friends' mouths' water. Follow these simple steps filled with our golden nuggets of wisdom and you will be plating perfect pieces of ham in no time.
Step 1 - Rest
That's right; the first step is to rest. When a ham comes out of the oven, just like any other roast, it needs time to allow the juices to settle, locking in the moisture and the flavour. It is also easier to handle and carve as it won't be piping hot! Cover it with some tin foil to keep it warm while you wait.
Step 2 - Find balance
Place the ham on a chopping board on its side and hold it steady with a fork. Slice off the bottom of the ham to create a flat base so it won't roll away from you. Place the ham cut-side down (glaze side up) ready and steady for carving.
Step 3 - Slice it up
Start from the narrower end. Using a large sharp knife, make a vertical, downward cut towards the bone. On an angle to the first cut, slice a small wedge out of the tip of the ham. This creates a surface area for carving your first proper slice (as well as being your tasty reward for all the hard work you have put in so far in the kitchen).
Now slice it as you would a loaf of bread, cutting perpendicular to the bone on a slight angle, running the blade of the knife around the bone. The pieces will get bigger as you carve your way up the bone so if your knife isn't long enough, you can start to make slices from each side of the ham to the middle as you move along the bone.
Step 4 - Release the slices
Work the blade of the knife lengthways along the bone, removing the slices from the bone.
Step 5 - The deboning
Once you reach about a third of the way up the ham, you can remove the bone by making a few short cuts at the joint.
Step 6 - Bottoms up
Once your deliciously glazed slices from the top of the ham are plated and ready to go, you’ll find there is still heaps of meat still left to carve. To carve the underside of the ham, flip it over, and cut long, flat slices parallel to the ham bone.
Step 7 - Keep it moist
Carve only as much as you need as the meat will dry out once it is sliced. Leftovers will stay moist for longer if left in one piece on the bone. To keep your ham fresh, place it in a ham bag and store in the fridge.
A Christmas ham is truly the gift that keeps on giving. From quiche to salads, and pies to pasta, leftover Christmas ham is versatile and goes a long way. However, nothing beats the simplicity of cold slices of ham with mustard or leftover apple sauce on fresh bread with Westgold butter. Voila.